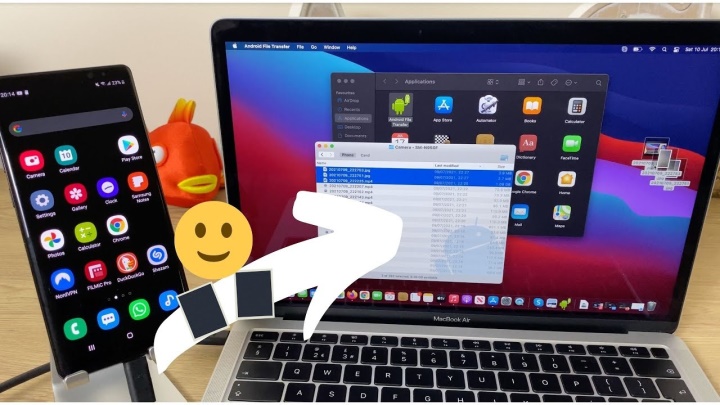
How to Transfer Photos from iPhone to Computer: Transferring photos is essential for freeing storage, creating backups, or editing on larger screens. Transferring photos from an iPhone to a computer is a necessary process to free up storage, create backups, or edit photos on a larger screen. Here is a detailed guide on the most efficient methods to transfer photos from an iPhone to your computer, whether it is running Windows or macOS.

1. Using a USB Cable
For Windows Users
- Connect Your iPhone to the PC: Use the lightning cable to connect your iPhone to the computer.
- Trust the Computer: When prompted on your iPhone, tap “Trust” and enter your passcode.
- Open File Explorer: Press
Windows + Eto open File Explorer and select your iPhone under “Devices and Drives.” - Locate Photos: Navigate to the DCIM folder, where all your photos and videos are stored.
- Copy and Paste: Select the photos you want to transfer, right-click, and choose “Copy.” Paste them into your desired folder on the computer.
For macOS Users
- Connect Your iPhone: Use the lightning cable to connect the iPhone to your Mac.
- Open the Photos App: The Photos app usually opens automatically. If it doesn’t, launch it from the Dock.
- Import Photos: Click on your iPhone under “Devices” and select the photos you want to import. Then, click “Import All” or “Import Selected.”
2. Using iCloud Photos
iCloud Photos is an effortless way to transfer photos wirelessly. It requires a stable internet connection.
Enable iCloud Photos on Your iPhone
- Open Settings.
- Tap on your name, then go to iCloud > Photos.
- Toggle on iCloud Photos.
Access Photos on Windows
- Download and install iCloud for Windows from Apple’s website.
- Sign in with your Apple ID.
- Open the iCloud app and enable the Photos option.
- Your photos will sync to the “iCloud Photos” folder on your PC.
Access Photos on Mac
- Ensure that iCloud Photos is enabled on your iPhone.
- Open the Photos app on your Mac.
- Your photos will appear automatically, provided you’re signed in to the same Apple ID.
3. Using Third-Party Applications
Several third-party applications offer more features and flexibility for transferring photos.
Popular Options
- Google Photos: Upload photos to Google Photos from your iPhone and access them on any computer by signing in to your Google account.
- Dropbox: Install the Dropbox app on your iPhone, upload the photos, and access them via Dropbox’s desktop app or website.
- OneDrive: Microsoft’s cloud solution works similarly to Google Photos and Dropbox.
Steps for Third-Party Apps
- Install the app on your iPhone.
- Upload the desired photos to the app.
- Access the photos on your computer by logging in to the same account.
4. Using AirDrop (Mac Only)
AirDrop allows for quick wireless transfer of photos between Apple devices.
- Enable AirDrop on Mac:
- Open Finder and click on AirDrop in the sidebar.
- Ensure AirDrop is set to “Everyone” or “Contacts Only.”
- Enable AirDrop on iPhone:
- Swipe down to open the Control Center.
- Long-press the connectivity section and tap on AirDrop to enable it.
- Transfer Photos:
- Open the Photos app on your iPhone.
- Select the photos to transfer and tap the share icon.
- Choose your Mac from the AirDrop menu.
5. Using Email or Messaging Apps
For a small number of photos, emailing them or using messaging apps can be convenient.
Steps
- Open the Photos app and select the photos to share.
- Tap the share icon and choose Mail or a messaging app like WhatsApp.
- Send the photos to your email address or a contact with access to a computer.
- Open the email or app on your computer to download the photos.
6. Using an External Drive
Transfer Photos to a USB Drive or External Hard Drive
- Connect the external drive to your iPhone using a lightning-to-USB adapter.
- Open the Files app and select the photos you want to transfer.
- Choose the external drive as the destination.
- Connect the external drive to your computer to access the photos.
7. Troubleshooting Common Issues
- iPhone Not Detected by Computer:
- Ensure that the cable and USB port are functional.
- Update iTunes (Windows) or macOS.
- Restart your devices.
- Slow Transfer Speeds:
- Use a high-speed USB cable.
- Close unnecessary apps running on your devices.
- Photos Not Showing in DCIM Folder:
- Ensure that your iPhone is unlocked.
- Confirm that you have trusted the computer.
Conclusion
Transferring photos from your iPhone to your computer is straightforward when you know the right method. From USB connections and iCloud to third-party apps and AirDrop, there’s a solution for every need and device. Choose the method that best suits your situation and enjoy seamless photo transfers.